Setup Microsoft Azure workshop environment
In this section, you will use Terraform to auto create the necessary resources in your Microsoft Azure account to run the workshop.
These resources will be placed under a separate Resource Group starting with workshop_resource_group.
In the Cleanup section, you will use the Terraform package to clean up all the resources created for the workshop.
Run the Workshop installer on Azure
Log in to Azure Portal
Open Cloud Shell by clicking the cloud shell icon at the Azure toolbar circled in the screen capture below:

You may need to create and mount storage when prompted.
Set the Cloud Shell to Bash
Download the workshop installation package from vFunction’s portal using the following command:
curl -o vfunction-workshop-azure.tgz https://portal.vfunction.com/file/3ea8ef9da8ea74e59ea7a57729e5440b/23806362-abf0-4249-9db5-b581d1dde5e4/vfunction-workshop-azure-installation.tgzUnpack the installation package:
tar zxvf vfunction-workshop-azure.tgzSet the region to which the resources will be deployed. The region must have at least 10 CPUs available in its quota. You can set the region to be one of the following:
“East US”, “East US 2”, “West US”, “West US 2”, “West US 3”, “South Central US”, “Central US”, “North Central US”, “North Europe”, “Canada Central”
Edit the installation.yaml
vim ~/vfunction-workshop/config/installation.yamlreplace the region with the region you want, as well as, set the org_name (e.g., “my company”, must be shorter than 50 chars) and email (e.g, “name@acme.com”). Set distributed_mode flag to false and monolith_mode to true
Run the installation:
bash ~/vfunction-workshop/install.sh
Wait for the script to complete
All the resources are created under one resource group with a name strarting with: “workshop_resource_group”. You can locate it under Resource groups in the portal for the relevant region and review them.
Complete the Windows VM Setup
In the Azure portal, find and open the form of the VM named “workshop-win”
Click Connect and then Connect via Bastion
Set the Username to
workshopand the password tovFunction2021!Click Connect
After the Windows desktop shows up, close the server manager and any other windows and open the Windows command prompt (you can type cmd in the search on the taskbar)
In the command windows do the following command:
powershell -ExecutionPolicy Bypass -File C:\init-workshop.ps1This will install the necessary software on the workshop windows machine.
You can close the command prompt window after the script is successfuly completed
Login to the vFunction server
In this section, we will log in to the vFunction server running on the Linux VM from the Windows VM.
Go back to the Azure Portal, and open the page of workshop-linux, where the vFunction and the OMS application are running
Copy the Private IP address (e.g. 10.0.1.5)
Switch to the workshop-win VM, open Chrome and paste the IP in the address bar - you should see the login window of vFunction
Login with the e-mail you entered in the installation.yaml file. The password is:
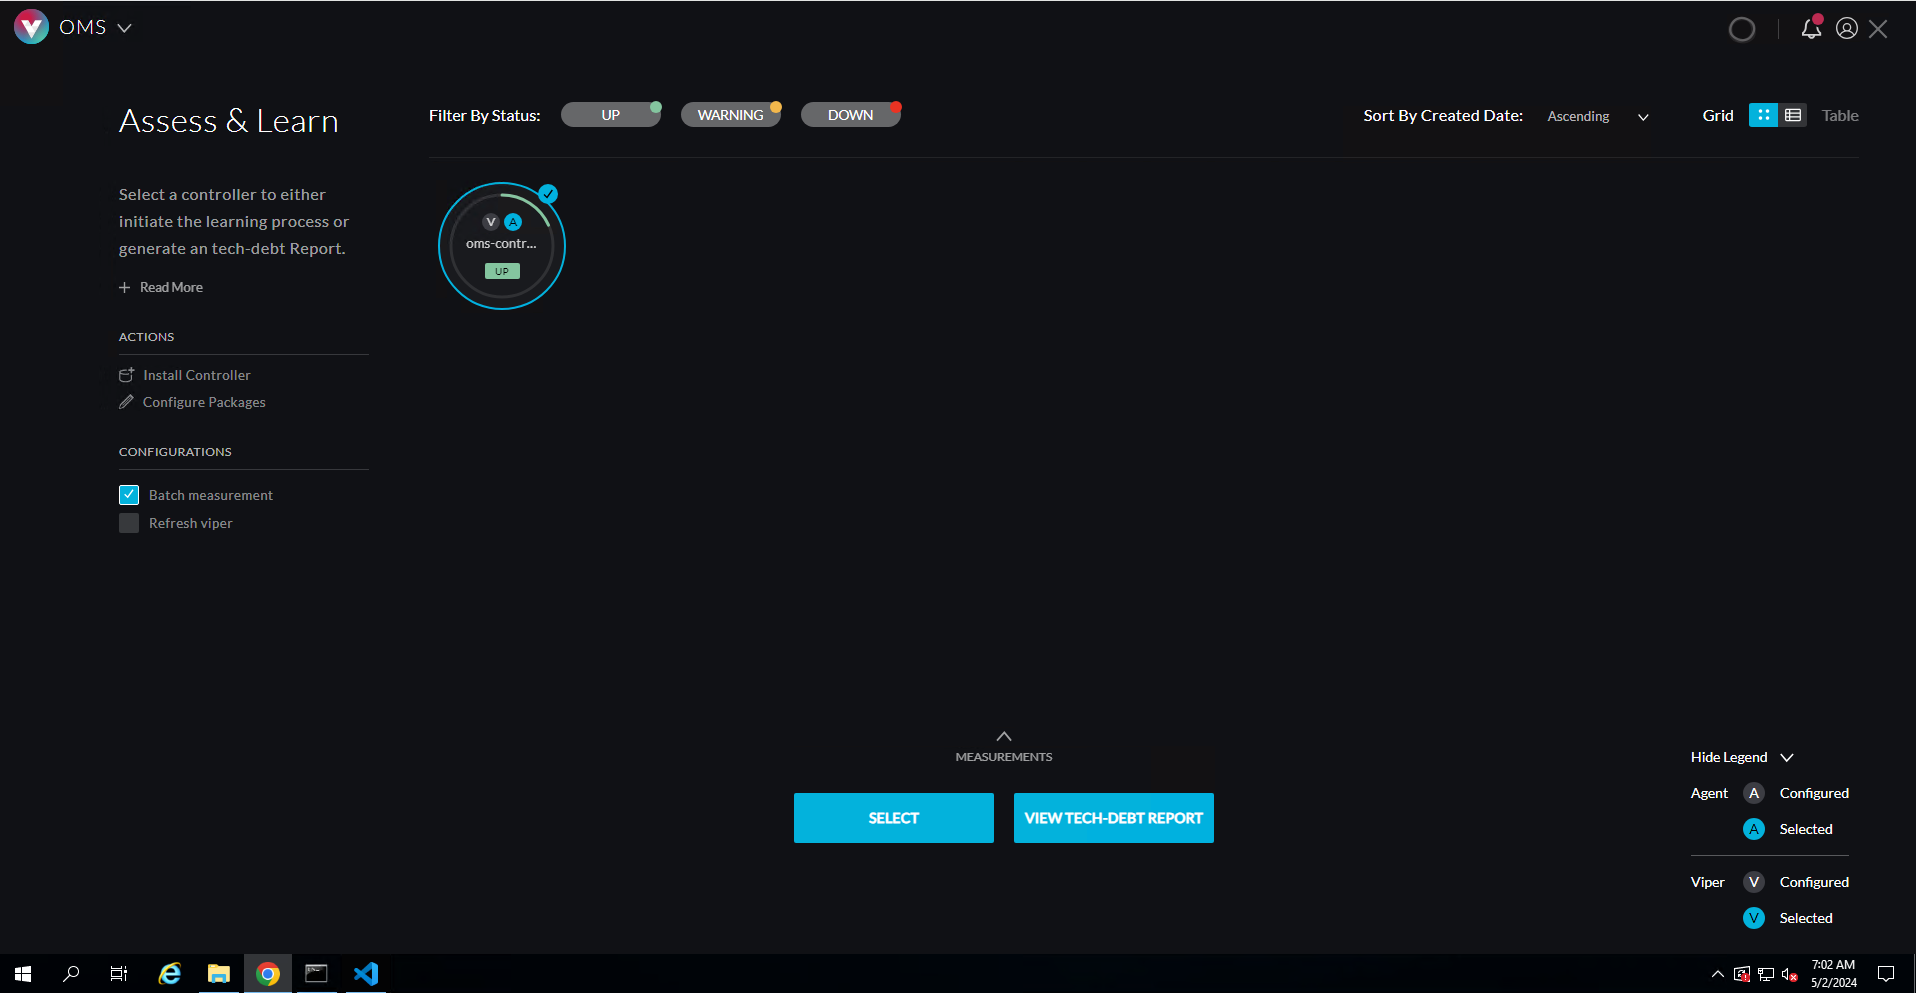
vFunction2021!You should see a screen similar to the below:

You are now ready to proceed to Learning.
